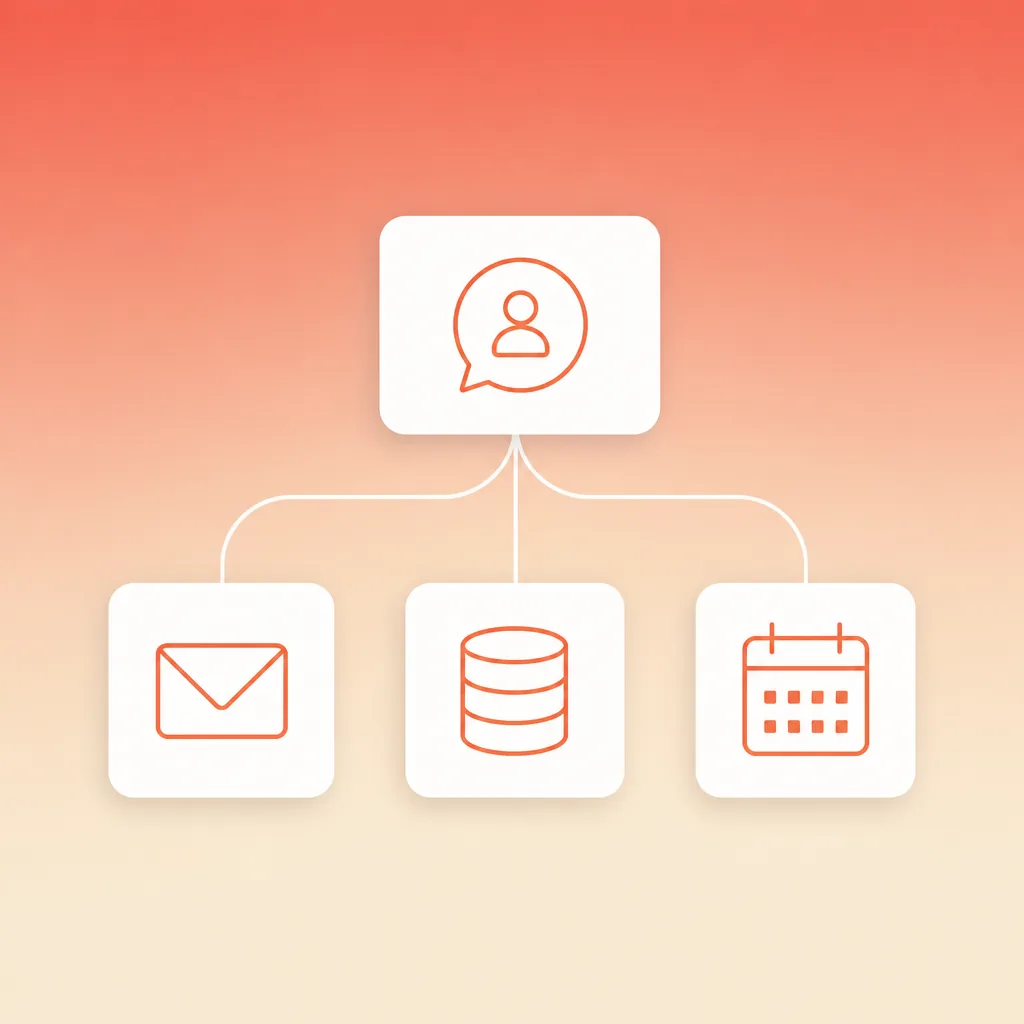
Why website chatbot lead capture beats a static form
Ever watched a visitor land on your pricing page, read for a minute, and leave without typing anything? Most of them do. The average website converts around 3.3 percent of its visitors, a figure Landbot cites in its lead generation chatbot tutorial, and a static form is the only thing most sites offer that visitor. Website chatbot lead capture flips that dynamic, because the bot starts the conversation while the visitor is still deciding whether to bother.
The case for a conversation over a form is easy to find. Tidio's research on lead generation chatbots reports that 83 percent of visitors prefer instant assistance when they make contact, and Nutshell's best AI chatbot for website guide notes that 37 percent of B2B sales transactions happen outside office hours, when nobody is watching the inbox. A bot that qualifies people at 11pm is the difference between a lead sitting in a form database and a scored prospect waiting for you in the morning.
The qualification step is what separates this from a chat widget with extra steps. The bot finds out who is serious before your team ever sees the name, through a short conversation rather than a long form. Here is how to build the whole thing with ChatGPT and Airtable, no code required. If you want the same logic running in a deeper agent stack, our lead qualification agent guide with Claude and n8n shows the pattern in a different setup.
The four things this build needs
No terminal and no developer needed for this build. You need four things.
- A website you can edit. Most sites let you paste a snippet, a small block of code, into a page. That is the only technical step here.
- A ChatGPT account. You use it to write and test the conversation script the bot will follow. A free account works for drafting, and a Plus subscription makes testing faster.
- A free Airtable account. Airtable is a spreadsheet-database hybrid, where each table works like a spreadsheet and every row is a record, meaning one lead.
- A chatbot builder with a free plan. Chatbase, Botsonic, SiteGPT and Tidio all qualify, and the choice mostly comes down to which interface you prefer.
One honest note before you start. ChatGPT does not ship a website widget, so the standard path is to design the conversation in ChatGPT, then plug that script into a chatbot builder that runs on GPT models. ChatGPT is the brain, the builder is the embed, and Airtable is the record. Budget an afternoon for the whole setup.
Step 1: Set up the lead table in Airtable
Airtable is where every captured lead lands, so the table comes first. The fields you set up now are the ones the bot will fill in later.
Create the base and the Leads table
A base in Airtable is one file that can hold many tables. Sign in, click Create a base, choose the blank option, and rename the first table to Leads. Airtable's form templates offer ready-made structures if you prefer a head start.
Add the fields a salesperson actually needs
Each column in Airtable is a field. Set up the ones below, and your team gets everything it needs to act on a lead without opening another tool. The Score and Status fields are what let you sort hot leads from browsers the moment they arrive.
| Field | What it holds | Example |
|---|---|---|
| Name | The person's name | Sarah Chen |
| Contact address | [email protected] | |
| Company | Business name | Acme Pty Ltd |
| Budget range | Single select brackets | AUD 5k to 10k |
| Timeline | Now, 1 to 3 months, Just researching | 1 to 3 months |
| Need | What they want to solve | Reduce time spent on lead follow up |
| Score | Number filled by the bot | 85 |
| Status | New, Qualified, Nurture, Contacted | Qualified |
Test the capture with Airtable's built-in form
Airtable ships with a form view, a web form generated from your table, and it doubles as a test harness and a fallback capture path. Create a form, submit a test record, and confirm it lands as a row. Airtable's documentation on building and sharing forms covers the field types if you get stuck.
Step 2: Write the qualifying prompts in ChatGPT
This is where the bot earns its keep. The prompts you write now decide what the bot asks, how it scores the answers, and when it hands a conversation to a human. LeadGen Economy's ChatGPT lead qualification guide breaks a good script into four parts. Role definition sets who the bot is. Behavioural guidelines set how it talks. Qualification criteria set what it needs to find out, and guardrails set what it must never do.
Write the system prompt
A system prompt is the instruction file that tells the bot how to behave. Paste this shape into a new ChatGPT conversation and fill in the blanks with your details.
You are the first point of contact for [company]. Your job is to answer quick questions about [product] and to find out whether the visitor is a real fit. Be friendly, keep answers under three sentences, and never invent pricing. Ask no more than four questions. If the visitor asks for a demo or a price, capture their details and end the conversation.
Two mechanics make that prompt work in practice. SiteGPT's lead qualification guide makes the first one explicit, and it is a simple rule. The bot answers real questions first, then starts its own. The second mechanic is restraint. CustomGPT's lead capture guide notes that every extra question raises drop-off, so keep the qualification loop short.
Build the scoring rubric
Give each answer a score so a qualified lead is a number your team can sort on. The rubric below is a sensible starting point, and you should adjust the weights to match your business.
| Question | What a good answer looks like | Score |
|---|---|---|
| What are you hoping to solve? | Names a problem your product addresses | 30 |
| Do you have a timeline in mind? | This quarter, next month, a specific date | 30 |
| What budget range fits this? | At or above your entry price | 25 |
| Who else would be part of the decision? | Names a team, a role or a colleague | 15 |
Out of 100. A lead at 80 or above is Qualified, 50 to 79 is Nurture, and anything below gets a polite no. CustomGPT's capture guide makes the restraint point directly: keep the question loop short, because every extra question can increase drop-off.
Test the script as a visitor
Role-play in the same ChatGPT conversation. Pretend you are a visitor with a budget and a deadline, and check that the bot stays in character, asks the right questions, and does not invent answers about pricing. Fix the script until the role-play feels natural, then copy the finished system prompt for the chatbot builder in the next step.
Step 3: Add the chatbot to your site
This is the embed step, and it runs through a chatbot builder that uses GPT models under the hood. Social Intents' guide to ChatGPT lead generation describes the pattern. Configure the bot, set what it collects, and paste a snippet into the site.
Create the bot and paste your script
In your chosen builder, create a new bot and paste the system prompt from Step 2 into the instructions field. Most builders also let you set the greeting message, the button label and the colours, so the bot looks like part of your site rather than a third-party widget.
Give it your site content
Upload your site pages, or paste the key product pages, so the bot can answer real questions before it starts its own. Builders call this collection the knowledge base, the set of pages the bot reads when a visitor asks something. Without it, the answer-first rule falls over.
Embed the snippet on high-intent pages
The builder gives you a snippet to copy. Paste it into the pages where visitors are closest to buying, which are the pricing, demo request, product comparison and integration pages, as CustomGPT's guide recommends. Start with one page and add more once you trust the bot.
Step 4: Route qualified leads to your inbox
A lead sitting in a chatbot dashboard is still a lost lead. The last mile is getting the scored record into Airtable and in front of a human fast. The routing pattern here is the same one the Zapier template that captures form submissions into Airtable demonstrates, where capture happens in the conversation and a connection moves the data into the table.
Connect the bot to Airtable
Chatbase, Botsonic and SiteGPT all connect to Airtable, either through a native integration or through Zapier. Find the integration in the bot settings, connect your Airtable account, and select the Leads table from Step 1. If your builder lacks a native integration, the Zapier template works the same way. A trigger fires when a lead is captured, and an action creates the Airtable record.
Map the answers to the fields
Every bot answer needs to land in the right column. Map Name to the Name field, Email to Email, and each scored question to its matching field, including the Score. This mapping saves the most time later, because the salesperson reads the whole conversation in the record instead of hunting through chat logs. A handoff that preserves full context, so the visitor never repeats themselves, is what separates working systems from frustrating ones, as LeadGen Economy's guide puts it.
Add a notification for hot leads
Make Airtable tell you when a record appears. The simplest version is a Zap or an automation that sends an email or a Slack message when a record with Status Qualified is created. Wonderchat's review of lead capture bots is blunt about what happens without this step. Most AI website chatbots for lead capture end up as glorified contact forms, because no human ever gets the lead. The notification is what keeps your bot honest.
From here the routing problem looks like the one we covered in the MQL to SQL handoff workflow with Pipedrive and Zapier. Once a lead qualifies, speed decides whether it stays warm.
Judge the bot on three signals after a week
Give the bot a week, then judge it on three signals rather than raw message counts.
- Look at the leads arriving outside office hours. Nutshell's research puts 37 percent of B2B transactions outside business hours, so an empty 9am inbox can be a sign the bot never got a real chance.
- Check the score distribution in Airtable. If everything scores high, your questions are too easy, and if nothing clears 80, the rubric is out of step with your actual buyers.
- Track reply time on qualified leads, because a scored prospect answered within the hour converts far better than one contacted the next day.
One more view worth building is a simple status board in Airtable showing the New, Qualified and Nurture counts. It turns the bot from a black box into a number you can read on a Monday morning. If you want the scoring logic to keep improving on its own, our AI lead scoring guide covers how to feed the same signals back into a model that learns which leads actually close.
Frequently asked questions
Do I need a developer to put a ChatGPT chatbot on my website?
No. The build is browser-only. Airtable holds the table, ChatGPT writes the script, and a chatbot builder handles the embed snippet. The only page you need access to is the one where you paste the snippet.
How many questions should the bot ask?
Three to four, max. CustomGPT's capture guide makes the point directly: every extra question can increase drop-off, so ask only what you need to score the lead and let later conversations fill in the rest.
What makes a lead qualified?
A qualified lead has a need, a budget, a timeline and a sense of who decides. NoForm's research on how chatbots qualify leads reports that around 61 percent of B2B marketers pass every lead to sales, even though only 27 percent of those leads are actually qualified. The scoring rubric in Step 2 exists to keep your team out of that 61 percent.
Where do the captured leads go?
Straight into the Airtable Leads table, with the score and the conversation context attached. The same pattern runs through our LinkedIn lead generation pipeline, which also lands prospects in Airtable, so everything your team touches lives in one place.
How long does the whole setup take?
Plan for an afternoon. The table takes about 20 minutes, the prompts and scoring rubric take the bulk of the time, and the embed and routing take about an hour once the script is final. Most of that time is testing the conversation, and that is the step worth not skipping.
What happens when the bot cannot answer a question?
It hands over to a human. Set the builder to flag conversations where the visitor asks something the bot cannot handle, and make sure those conversations reach your inbox with the transcript attached. Wonderchat's review is blunt on this point. Bots that never escalate end up as glorified contact forms.